Renovation of 125 Year Old House Table of Contents TOC
- Renovation of 125 Year Old House Table of Contents TOC
- HeadQuarters Architectural Research
- Paint Stripping Notes
- Replacement Red Pine Tongue and Groove Flooring
- Refinishing and Staining Maple Flooring Wood
- How To Install Hardwood Flooring
- Private: Rustys Grade 3 Hickory and Oak Hardwood Flooring
- Old House Water Leak Video
- Ideas for Interior of 120 Year Old House
- Exterior of 120 Year Old House
- Exterior Design for Modern Look of 120 Year Old House – Siding
- Cellar Door Project for 115 Year Old Ohio House
- Ohio Old Wooden House Siding Solutions
- Attic Remodeling Ideas
- Installing a Metal Roof on a Shed as a Practice Exercise
- Private: Construction Tool Inventions
- Joes Pine Floor Refinishing Job
- Basement Foundation Repairs Renovations and Water Management
- Alex Heat Pump Air Conditioner Retrofit for Houses without Duct Work
- Concrete Construction Forms
- Retaining Wall – Large Waste Concrete Blocks 2 foot by 2 foot by 6 foot
- Fire Door Parts and Installation Notes
- Creek Retaining Wall Surge Stone Erosion Prevention
- How to Install a Ductless Mini-Split Air Conditioner
- How To Lay Concrete Blocks
- Retaining Wall – Large Waste Concrete Blocks 2 foot by 2 foot by 6 foot
In order to do this installation correctly so it has maximum strength and security it will require some significant preparation.

Research Links
- L.I.F Industries – 36 in. x 80 in. Gray Primed Right-Hand Steel Knock Down Door Frame
- L.I.F Industries – 36 in. x 80 in. Gray Left-Hand Fire Steel Prehung Commercial Door
- 34 in. x 80 in. Flush Right-Hand Inswing/Outswing Fire Steel Prehung Commercial Door
- HomeDepot: L I F Door

Used Door on Craigslist
- Phone= (216) 524-7600 is the number listed on the ad
- Steel Doors – 70 (Valley View) – in the Cleveland Craigslist
- They have multiple units of this door. All are no window versions.
- Steel Pre Hung 36" x 80" Push Bar – 3 hour Fire Rated – 250
- Steel commercial man doors fire proof – 150 (Newburgh Heights)
- Doors for less – Cleveland
- Steel Door – Cleveland
- Doors for less – 100 (Westside)
Related Work
- Sources of Cheap Solar Panels
- Construction Material Notes
- Waste concrete blocks
- Modular snap together concrete forms
- Ohio Auction Houses for building materia​l
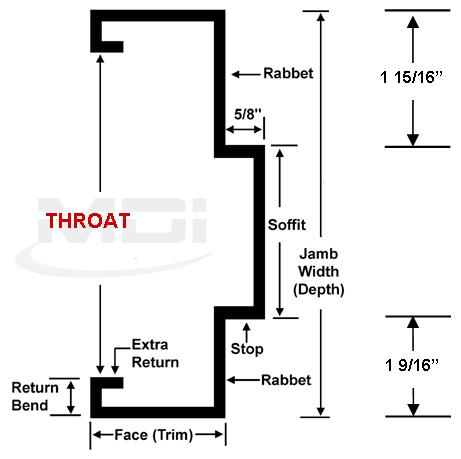
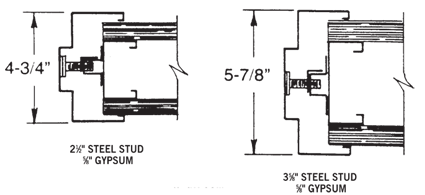
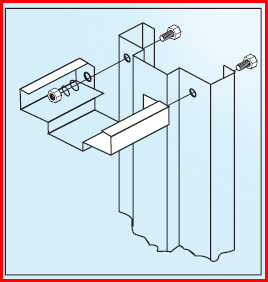
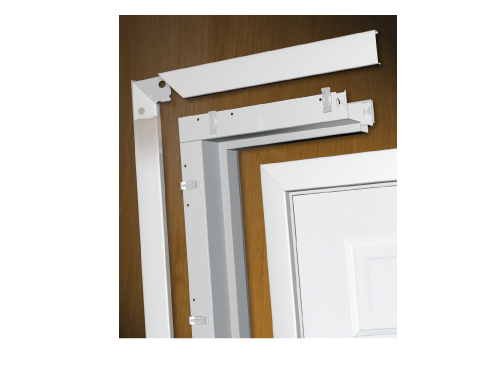
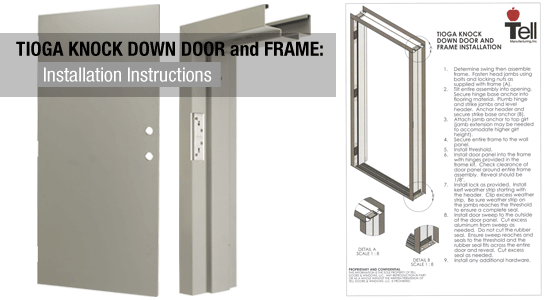
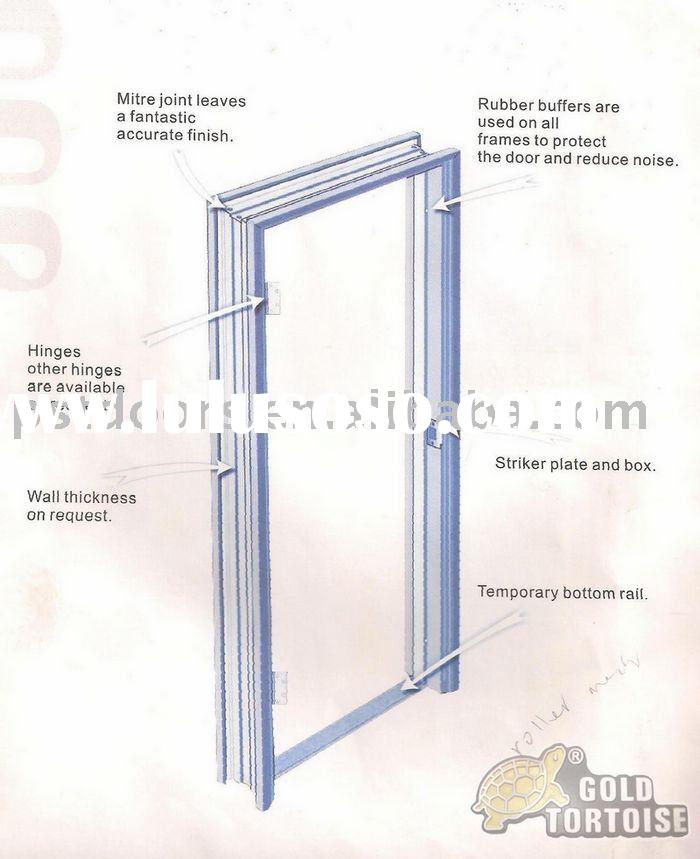
The following gallery is helpful in identifying common features of steel doors
Alright now I have 4 commercial doors with knock down frames that I found in Capon Bridge, WV that were being removed from a church. The frames are 40 inches wide and thus I need to cut 5/8 inch out of both sides of the masonry hole I want to put the door in. Best tool so far that I have found is a hand held circular saw with a diamond blade. It is a standard 7.25 inch saw and blade and it is cutting well but the cut depth is only 2 inches. That's leaving the rest of the 5.5 inch depth uncut. That is the next problem to be solved. There are 16-5/16" circular saws but they generally cost north of 500 USD. Thus I either need to borrow a saw, rent a saw or hire the cut job to be done. I tried using a reciprocating saw with diamond blade but it is very very slow.
I decided to use a Harbor Freight cheapy with laser guide line: 7-1/4 in. 12 Amp Heavy Duty Circular Saw With Laser Guide System – Chicago Electric Power Tools – Item#63290 to make a first set of cuts because it is easier to get a straight line with the laser guideline projected on the surface line I ruled onto the wall.
Note: This unit developed a rough bearing during the course of cutting the guide cuts. This may have been due to the extremely dusty nature of cutting cinder block. Not sure if I can do anything to remedy that.

Research Links
- Klutch 14in. x 0.118 x 1in. Segmented Diamond Blade
- Google: Stihl TS800 – 16 inch gas cutoff saw
- Ebay: Stihl: TS800
- TandM hardware rental page for Stihl TS800 – using my 7.25 circular saw I can set up guides by doing 2 inch deep cuts then follow that with this tool.
| TS 800 STIHL Cutquik® Specifications – Professional Use | |
|---|---|
| DISPLACEMENT | 98.5 cc (6.0 cu. in.) |
| ARBOR SIZE | 20 mm |
| MAXIMUM WHEEL SIZE | 400 mm (16") |
| MAXIMUM CUTTING DEPTH | 143 mm (5.6") |
| TS 420 STIHL Cutquik® Specifications – Professional Use | |
|---|---|
| DISPLACEMENT | 66.7 cc (4.07 cu. in.) |
| ARBOR SIZE | 20 mm |
| MAXIMUM WHEEL SIZE | 350 mm (14") |
| MAXIMUM CUTTING DEPTH | 125 mm (4.9") |
I went to Harbor Freight to buy a cutoff wheel for the corners etc and while I was there I noticed they had a 14 inch cut off saw. Upon inspection I saw that this saw had an easily reversible hinge joint. See image below:
14 in. 2 HP Cut-Off Saw Drill Master – Item#91938
Click for larger view
When I got this saw home I removed the Jesus clip and spun the chop arm 180 degrees so now it was very well set up to cut a wall slot. You can see the wall cutting orientation in the two "Roman siege towers" made out of cement block. This methodology allowed a T square to be used to maintain the 14 inch diamond saw blade square to the wall. Above the left photo you can see how I mounted a used blower unit above the work area. This rapidly exhausted the dusty air out of the building. This is highly recommended.
Before photos. A very old door with very insecure windows. The hole plugged after the masonry cuts were finished waiting for the next day's dry fitting and mounting of door frame and door.
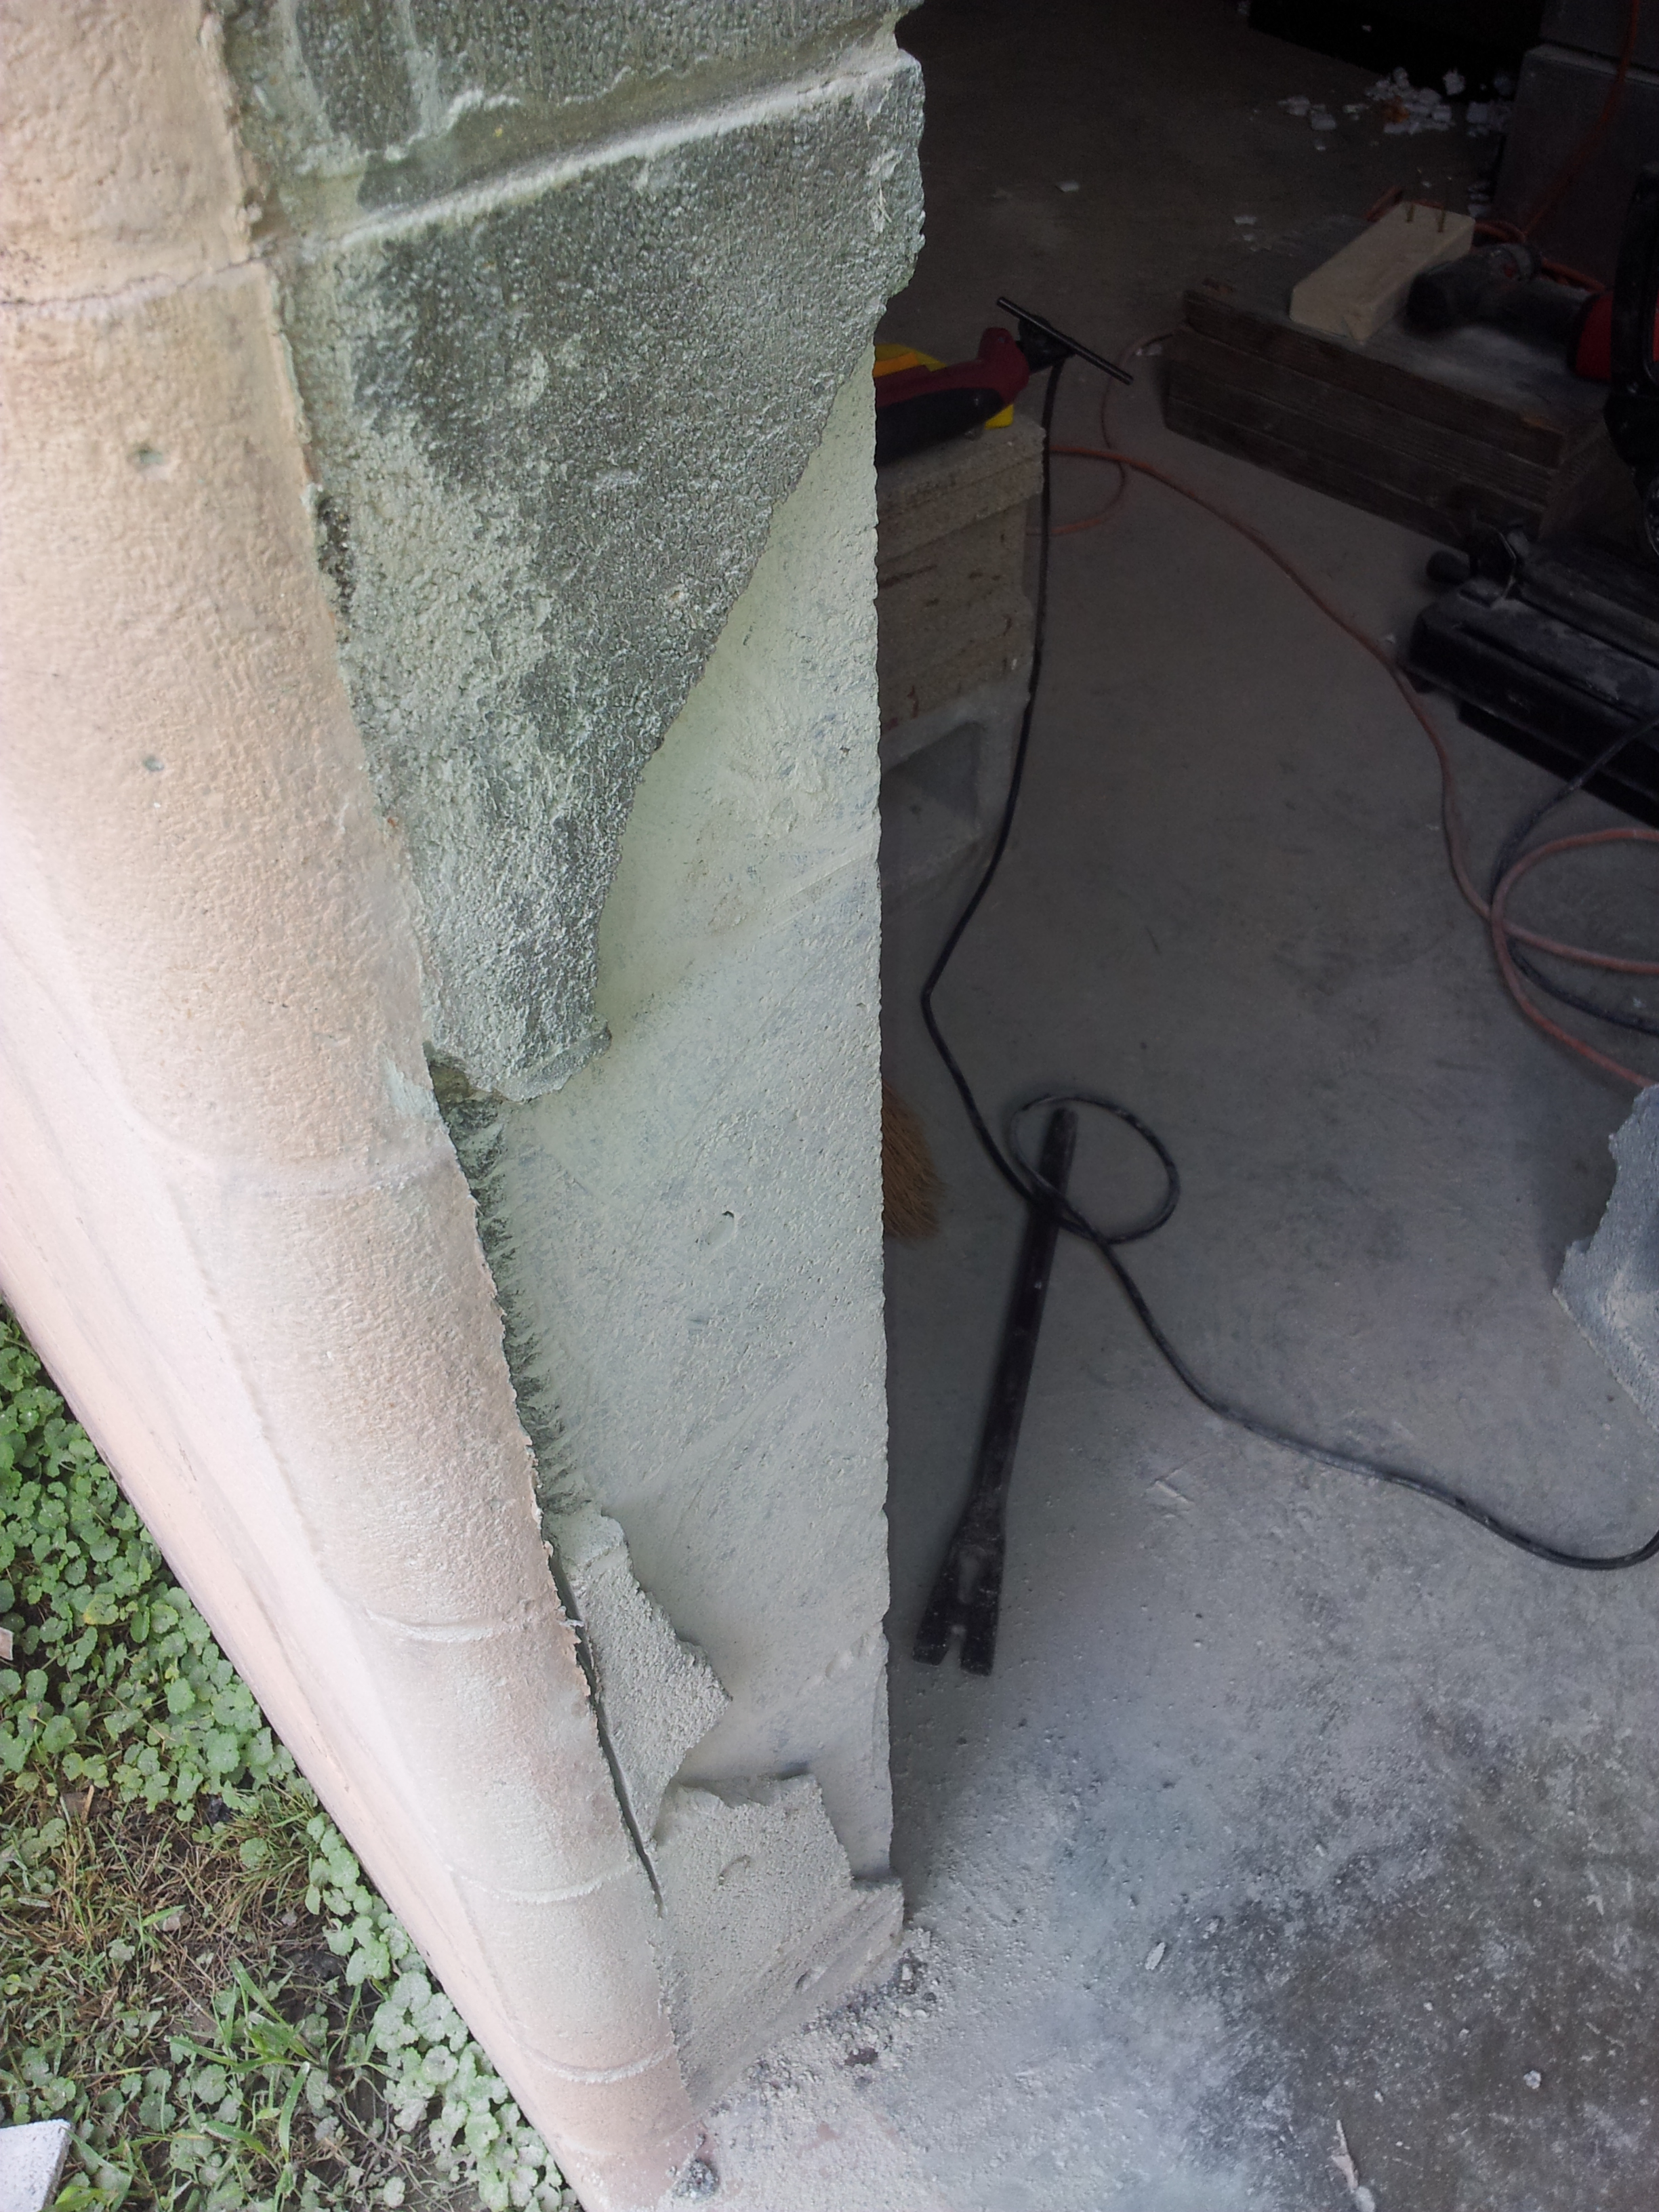
Resulting cut photos are next. The remaining material was abraded away using a hammer drill to perforate where the blade's cut depth was insufficient and then a chisel and hammer was used to tap and break away the material. The first photo below shows an area that was perforated before smoothing. The area was smoothed using a 4 inch diamond blade in a small cut off / grinder tool.
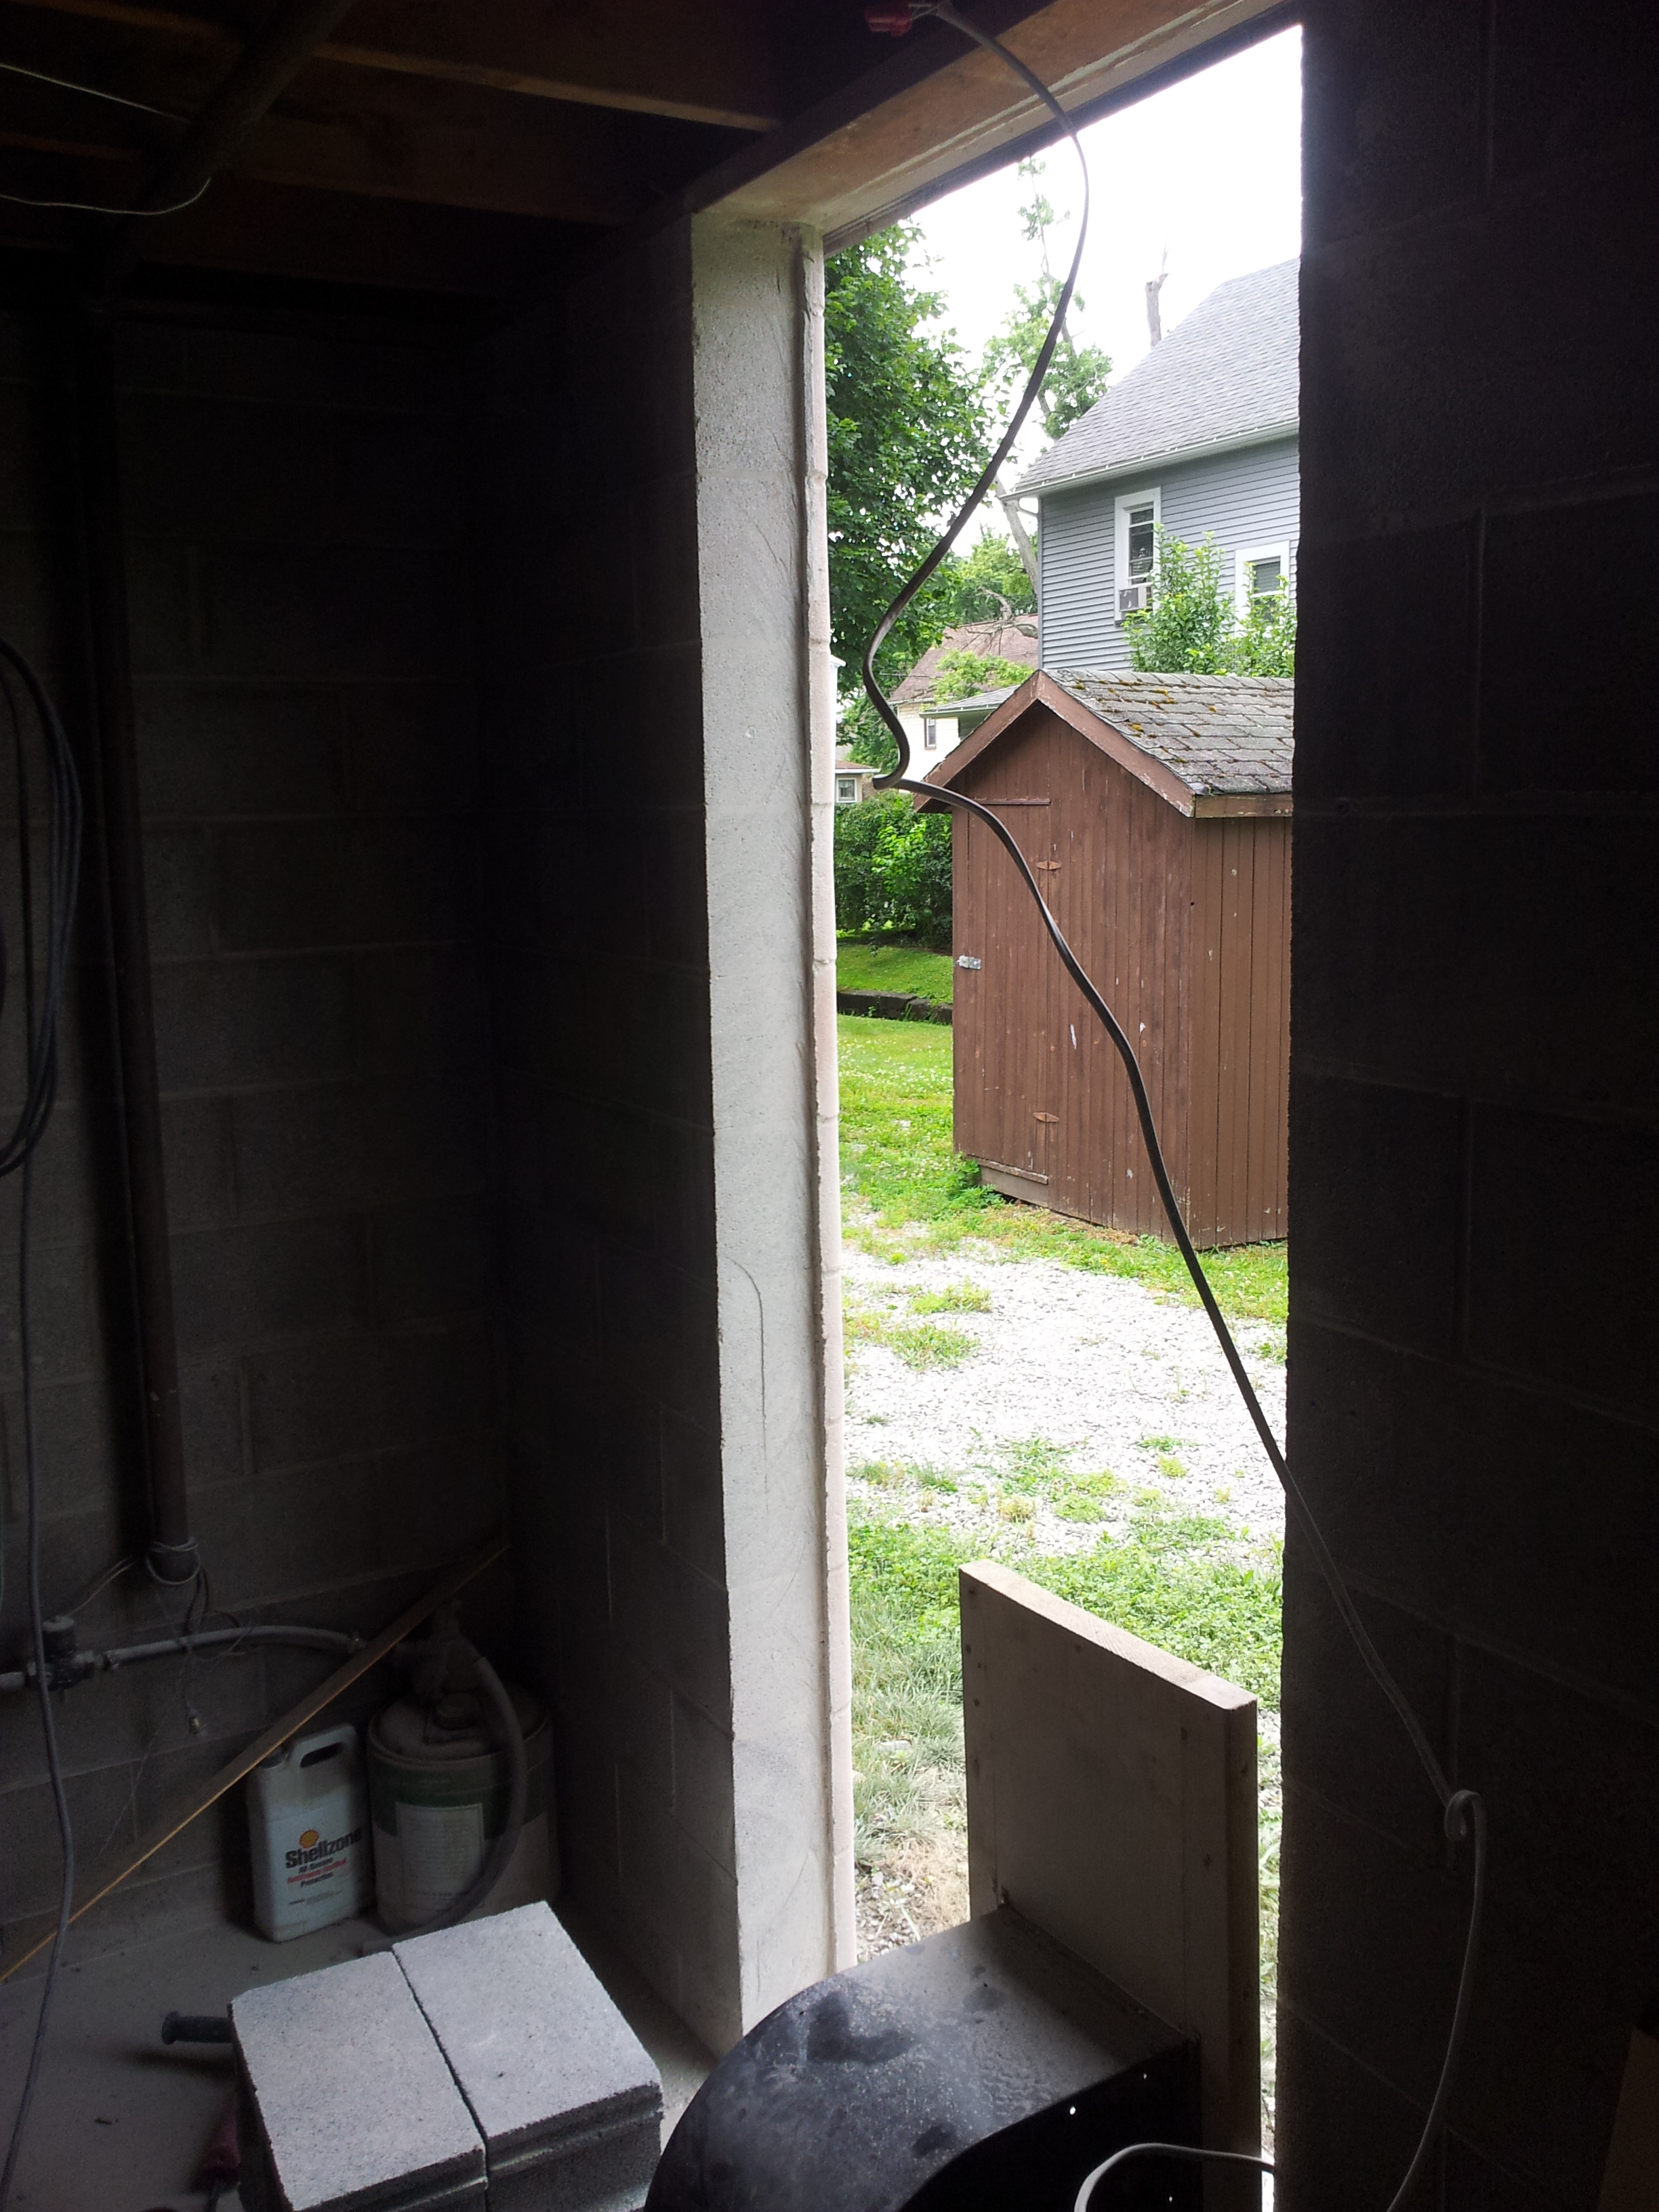
Final cut results are shown below.As you can see the excellent control of the reversed chop saw stand yield a good cut.
Finished Product















0 Comments